The dream of a cinematic outdoor movie night is powerful. Crisp popcorn, cool summer air, and a massive image beaming onto a screen in your backyard. But then reality sets in: quality projection screens often cost hundreds of dollars, and those sturdy stands can run another hundred. If your budget is tight—specifically, if you’re aiming for a fully portable projector screen with a stand, suitable for outdoor use, all for under $50—you’re facing a significant challenge.
Most experts will tell you this price point is impossible for a new, robust system. But we disagree. It’s challenging, yes, but not impossible. This guide isn’t just a list; it’s a detailed blueprint. We are choosing a Comprehensive Buyer’s Guide and Strategic Deep Dive format to show you exactly where to look, what compromises to accept, and the smart hacks required to achieve outdoor cinematic bliss without breaking the $50 barrier.
The $50 Challenge: Setting Realistic Expectations
Before diving into specific product hunts, it’s essential to understand the landscape of ultra-budget projection. When you spend under $50 for a screen and a stand, you are primarily paying for fabric and extremely lightweight metal or plastic piping. You must set realistic expectations regarding three key factors:
- Size: Screens at this price point generally max out around 80 to 100 inches (diagonal), and often will be slightly smaller (60-72 inches) to keep material costs down.
- Stand Quality (Stability): The included stand will likely be a very basic, lightweight tripod or tension frame system. It will be functional in zero wind, but strong wind resistance will be minimal.
- Material Quality (Wrinkling): High-end screens are tension-mounted to eliminate wrinkles. Budget screens often require significant effort (like steaming or stretching) to achieve a truly flat surface, as they are typically folded for shipping.
Despite these caveats, achieving a setup under $50 is possible if you prioritize portability and size over high-end material quality and rigid stability.
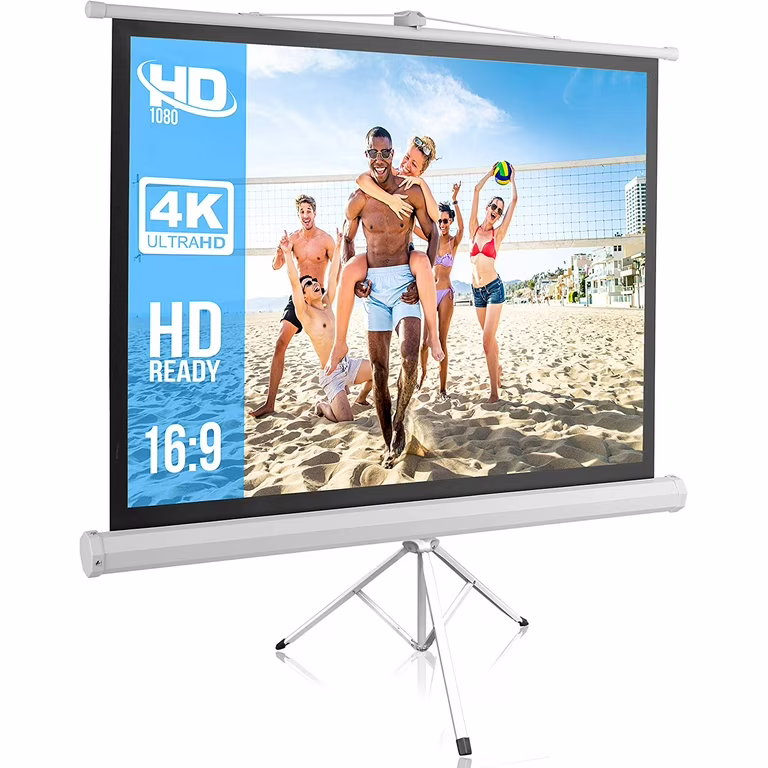
Option 1: The ‘All-in-One’ Budget Find
The first and simplest strategy is locating the rare product that includes both the screen and stand at this low price point. These deals exist primarily through high-volume, generic brands found on major online retailers.
Key Specs to Look for in Sub-$50 Kits
- Stand Style: Look for lightweight tripod or adjustable pole stands. Avoid units that rely solely on adhesive hooks or tension cords, as those lack true “stand” functionality.
- Screen Material: Matte white polyester or spandex is common. While not professional grade, polyester is lightweight and provides decent gain (brightness reflection) for nighttime viewing.
- Setup Time: For portability, look for designs that advertise setup in 5 minutes or less. Complex assembly often means missing pieces or frustrating deployment.
- User Reviews: Filter reviews by “lowest rating” first. If the lowest ratings consistently complain about the stand breaking immediately, move on. If they complain about wrinkles, that is fixable.
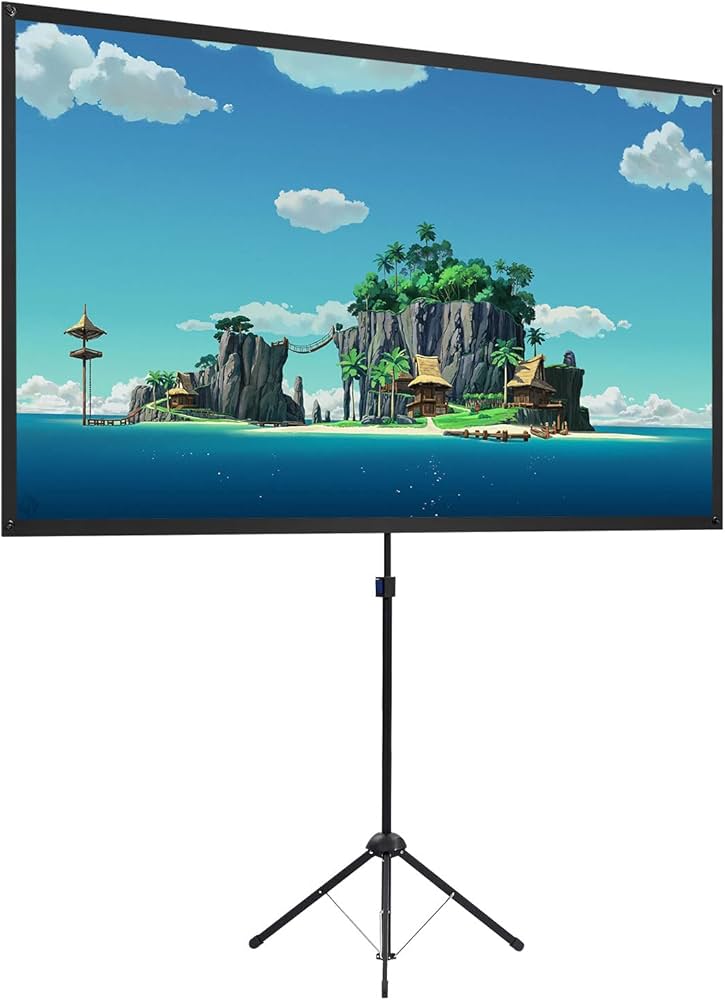
The Real-World Example: As of this writing, some retailers offer 80-inch diagonal screens paired with basic metal tripod stands specifically marketed toward outdoor movie nights. These are often manufactured to hit the aggressive sub-$50 price point precisely. These finds provide the quickest path to achieving your goal.
We found one such highly rated example that demonstrates this feasibility: This 80-inch portable screen kit often falls within this budget bracket, making it a stellar find for beginners seeking a reliable, ready-to-use solution.
Option 2: The Strategic Two-Part Solution (The $50 Hack)
If you cannot find a quality all-in-one kit for under $50, the most reliable path is the strategic split. Spend the bulk of your budget ($30–$40) on the screen material itself, and reserve the remainder ($10–$20) for a creative, lightweight, DIY stand solution.
Part A: Choosing the Best Cheap Screen Material (Under $40)
Forget fixed frames; at this price, you are buying a lightweight, fold-up screen with reinforced grommets around the edge. These usually range from 100 to 120 inches—larger than the all-in-one kits—because they omit the stand entirely.
- Front Projection Film: Look for high-density, anti-crease polyester fabric. Ensure the edges are hemmed and include metal grommets for easy attachment.
- Cost Target: $25 – $40.
- Tip: Always opt for a screen advertised as “anti-crease” or “wrinkle-free,” even if you know they aren’t perfectly flat out of the box.
Part B: The Ultra-Budget DIY Stand Solutions (Under $10)
This is where you save the most money and gain the most stability compared to the flimsy stand provided in cheap kits. We need materials that are light, durable, and easily sourced for minimal cost.
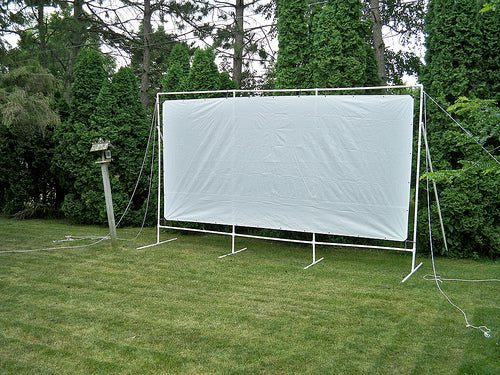
Method 1: The PVC Frame
PVC piping is the ultimate budget solution. It is light, weather-resistant, and requires no complicated tools. This method often costs less than $10-$15, depending on the size of the frame (4-8 pipes, 4 elbow joints, 4 T-joints).
Steps:
- Purchase 1-inch Schedule 40 PVC pipe (very rigid, yet light).
- Cut to desired frame size (or have the hardware store cut them).
- Assemble into a simple rectangle using T-joints for the corners and a central support beam for larger screens.
- The screen’s grommets attach directly to the PVC frame using zip ties or bungee cords, providing excellent, wrinkle-minimizing tension.
Method 2: The Repurposed Tent/Tarp Poles
If you have old camping gear, the lightweight fiberglass or aluminum poles often used for small tents or tarps can be repurposed. Connect two poles (using duct tape or a small coupling) vertically and anchor them into the ground using tent stakes and guy lines. The screen is then stretched between the two poles.
This approach adheres strongly to the core concept of a Budget Backyard Movie Night Setup, allowing users to leverage existing resources rather than incurring new costs, a principle we often advocate when providing minimalist decor tips for saving space and money.
Setup and Optimization Tips for Ultra-Budget Screens
Having successfully procured a screen and stand setup for under $50, the next step is maximizing its performance. A low budget doesn’t mean low quality if you optimize the setup environment.
Fighting the Wrinkles (The Tension Hack)
Wrinkles are the biggest enemy of cheap projection screens. A wrinkled surface distorts the image and significantly reduces viewing pleasure.
- Use Weight: If using a hanging screen (tension-only), clip small weights (like binder clips or smooth fishing weights) along the bottom edge to pull the fabric taut.
- The Steam Method: Before your movie night, gently steam the screen fabric while it’s hung up. This is far safer than ironing and is highly effective on polyester.
- Maximize Tension: If using the PVC frame method, use multiple zip ties (every 6-8 inches) around the grommets and pull them tightly. The frame is your friend in eliminating creases.
Wind Resistance on a Budget Stand
The biggest failure point for sub-$50 stands is stability. A light breeze can turn your cinematic moment into a chaotic sail-takedown.
- Anchoring is Mandatory: Whether using a flimsy tripod or a DIY PVC frame, you must anchor it. Use tent stakes (U-shaped metal stakes) driven into the ground through the feet of the stand or the base of the PVC structure.
- Add Weight: Place sandbags (or even gallon jugs of water) at the base of each leg of the stand for temporary ballast. This significantly increases stability without adding cost to the screen itself.
Projector Placement and Viewing Angle
To mask slight imperfections (like tiny waves or minor non-flatness), try to position your projector slightly off-center and use keystone correction. Also, ensure your audience is seated well back from the screen. The further away they are, the less noticeable minor surface flaws will be.
When planning your viewing area, consider how the setup integrates with your entire outdoor space. Just as careful planning helps maximize small living areas using items like Slimline Media Consoles, thoughtful placement of the screen minimizes clutter and maximizes the viewing experience.
Beyond the Screen: Complementing Your Budget Backyard Setup
A great screen is only one component of a successful outdoor movie night. Since you saved money on the screen, you might have a few dollars left over to enhance the other elements.
Sound Solutions
A portable Bluetooth speaker is essential. Even a basic $20 speaker (or one you already own) will provide vastly superior sound quality than the tiny built-in speaker on most budget projectors.
Power and Wiring Management
Outdoor viewing requires power. Use heavy-duty extension cords designed for outdoor use. Safety is paramount. If you are dealing with multiple pieces of equipment—projector, screen stand, speakers, and potentially an external streaming device—managing the cables is key. Consider using Multi-Purpose Furniture or existing patio pieces to discreetly hide power strips and excess wiring, ensuring no trip hazards in the dark.
Remember that the overall ambiance enhances the experience, regardless of the screen’s price tag. Simple string lights or comfortable outdoor seating elevate a basic projection setup into a memorable event.
Conclusion: The Final Verdict on Sub-$50 Outdoor Screens
Can you find a portable projector screen with a stand for outdoor use under $50? Absolutely, yes.
However, you must be strategic. If you find an “All-in-One” solution (Option 1), scrutinize reviews for stand stability and be prepared to iron out wrinkles. If you choose the Strategic Two-Part Solution (Option 2), invest most of your $50 budget in a good fabric screen and use low-cost DIY materials like PVC for the stand.
By applying these budget-minded strategies, you can transition from dreaming about an outdoor cinema to actually hosting one, proving that high entertainment value doesn’t always require a high price tag. Grab your popcorn and enjoy the show!