Introduction: Maximum Impact, Minimal Time

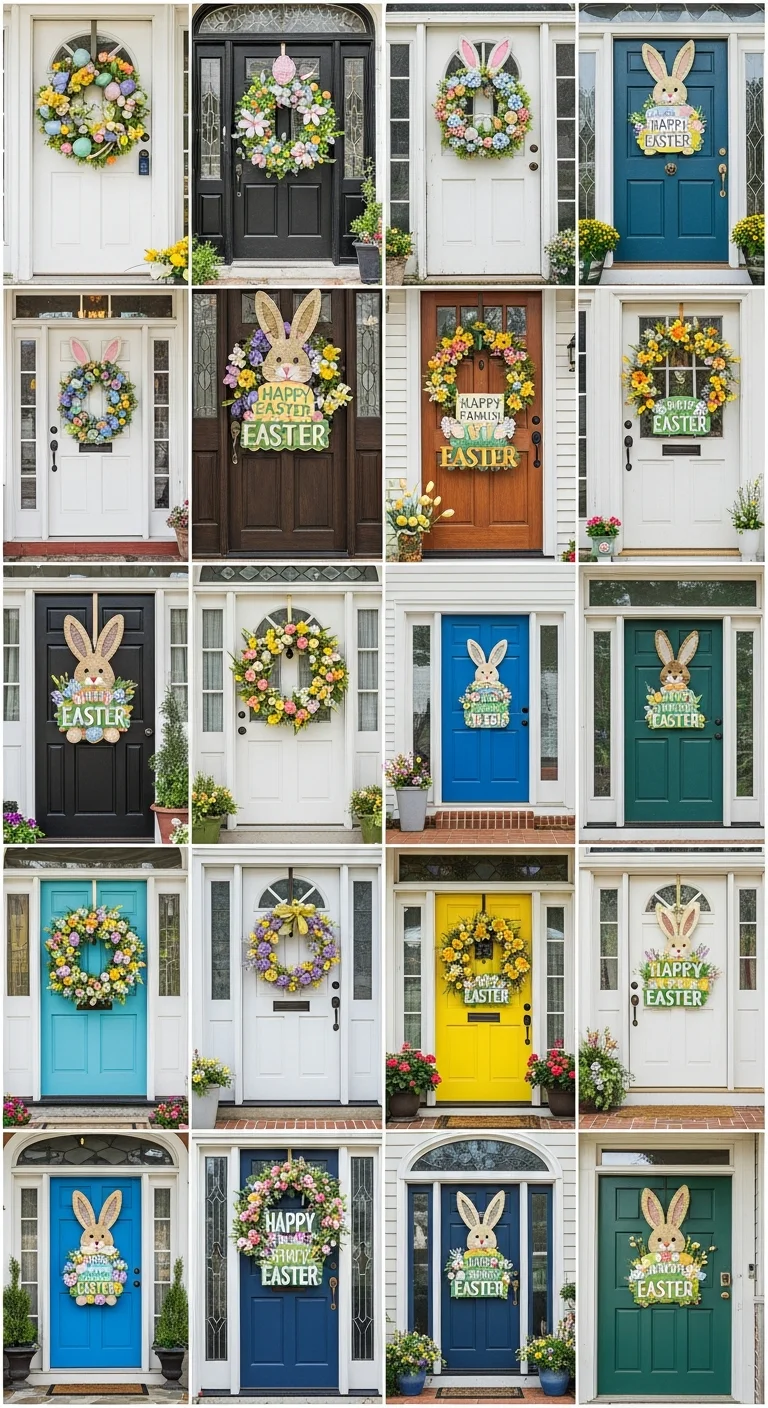
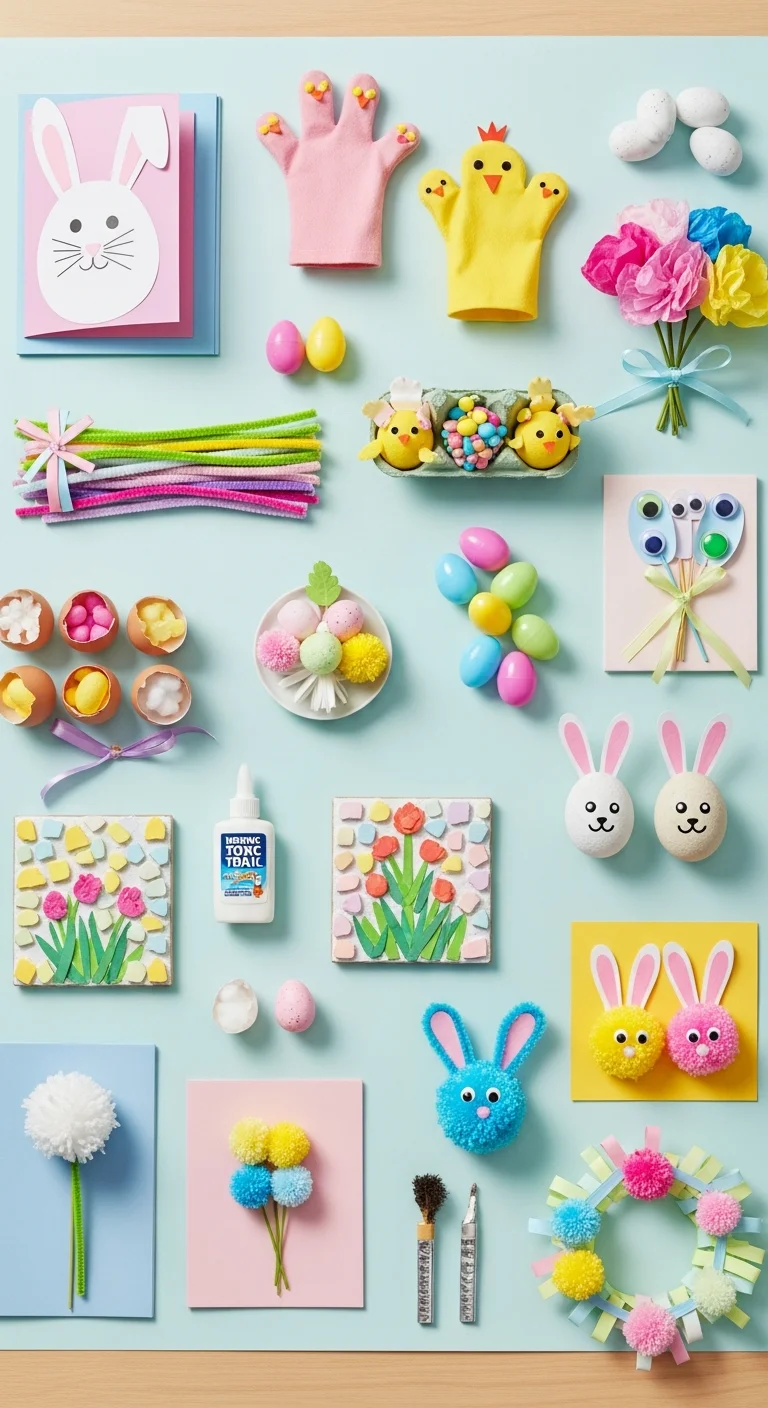
When Easter sneaks up on you, there’s no need to stress about having a beautifully decorated home. These 15 DIY projects are specifically designed to be completed in 10 minutes or less, using common household or craft store materials. Whether you need a fast table centerpiece, charming party favors, or simple accent pieces, these speedy crafts deliver big impact without the time commitment. Start your spring refresh right away and remember to check out these ideas for colorful Easter door decor once you finish your indoor accents!
1. Quick Speckled Egg Garland

Ingredients:
* 15-20 Faux craft eggs (plastic or foam)
* Brown acrylic paint and an old toothbrush
* Twine or thin string
* Hot glue gun
Instructions:
1. Dip the toothbrush lightly in brown paint and flick the bristles onto the eggs to create speckles. Let dry for 2 minutes.
2. Once dry, run a thin line of hot glue across the equator of each egg.
3. Press the twine into the glue line, evenly spacing the eggs along the string. Display on a mantel or shelf.
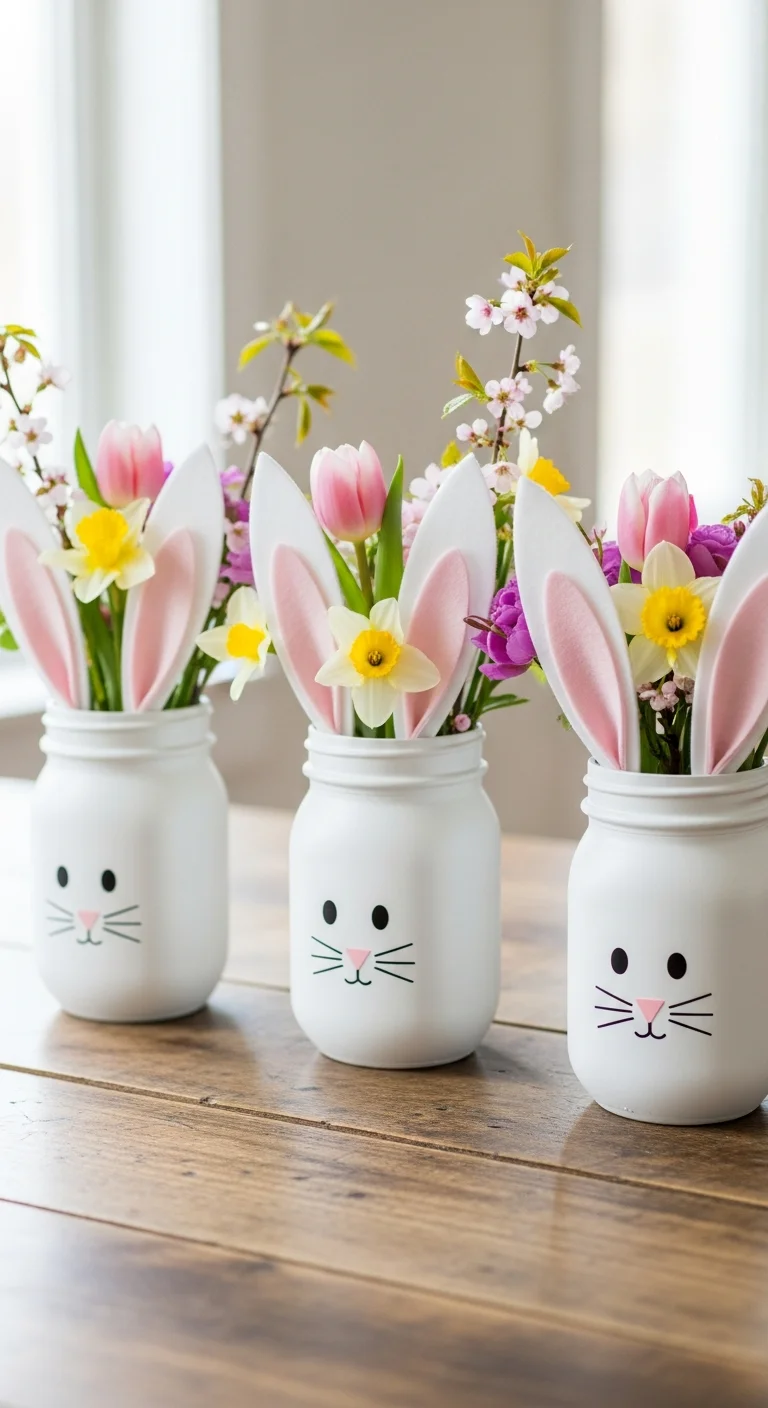
2. Mason Jar Bunny Vases
Ingredients:
* 3 Small mason jars or glass bottles
* White spray paint (fast drying)
* Pink and white permanent vinyl or paper cutouts
* Black permanent marker
Instructions:
1. Quickly spray paint the jars white (ensure the paint is a fast-drying craft type).
2. While drying, cut two small pink ovals for inner ears and two white ovals for outer ears (or use vinyl stickers).
3. Hot glue the ears to the back rim of the jar once dry.
4. Use the black marker to draw tiny eyes and a nose on the front. Fill with small spring blooms.
3. Pom-Pom Bunny Napkin Rings

Ingredients:
* Large white pom-poms (pre-made)
* Small white pom-poms (tail)
* Pink felt scraps
* Elastic bands or sturdy twine rings
* Hot glue gun
Instructions:
1. Cut two small, elongated ear shapes from the pink felt.
2. Hot glue the pink felt ears to the top of the large white pom-pom.
3. Glue the small white pom-pom to the back of the large pom-pom for a tail.
4. Secure the elastic band or twine ring to the bottom/back of the pom-pom.
5. Slide the completed bunny ring over rolled napkins for an adorable table setting.
4. Twig and Moss Centerpiece

Ingredients:
* Small bundle of decorative twigs or branches
* A clear glass vase or jar
* Preserved moss (sheet or loose)
* Small plastic or chocolate eggs
Instructions:
1. Place the twigs vertically into the vase, adjusting them to look airy and natural.
2. Loosely drape or tuck the preserved moss around the base of the twigs inside the vase to cover the bottom.
3. Nestle a few small eggs into the moss.
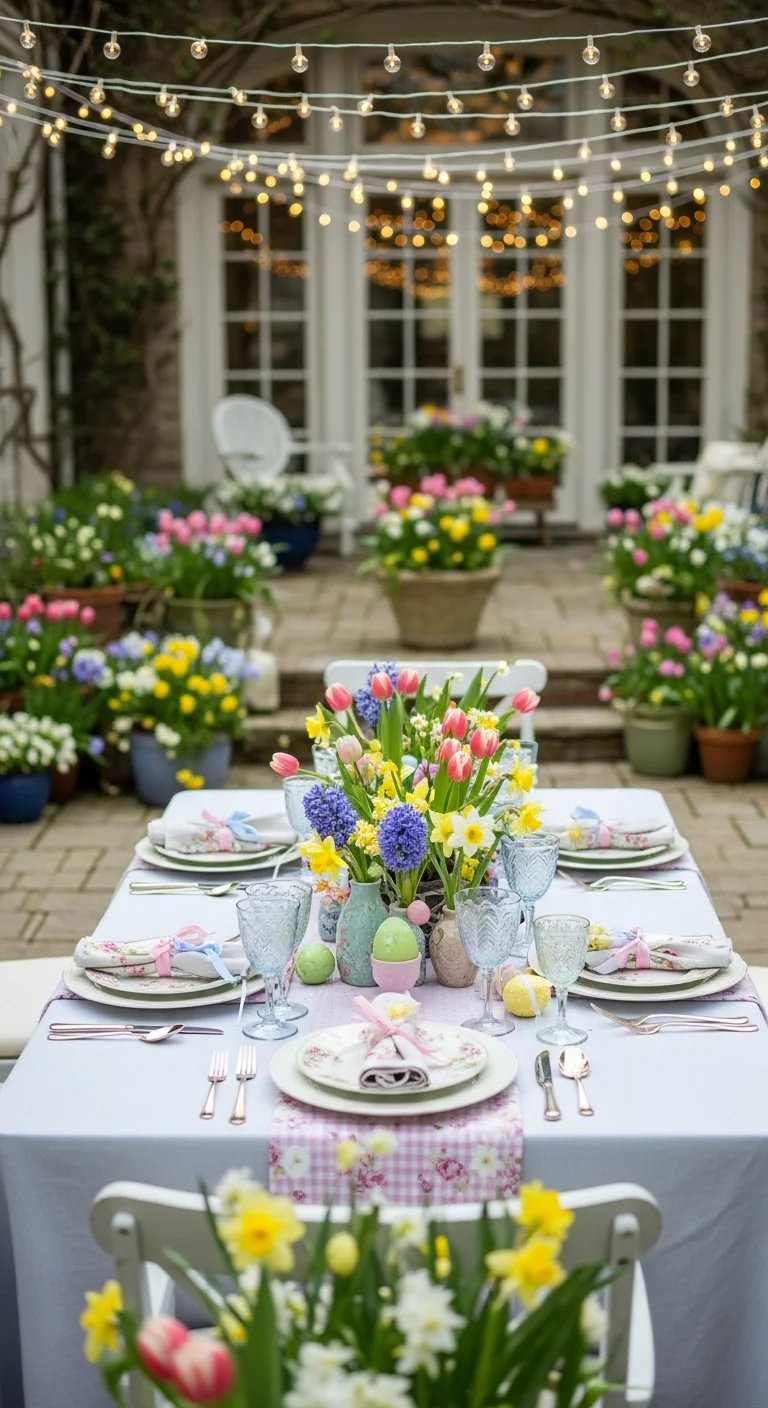
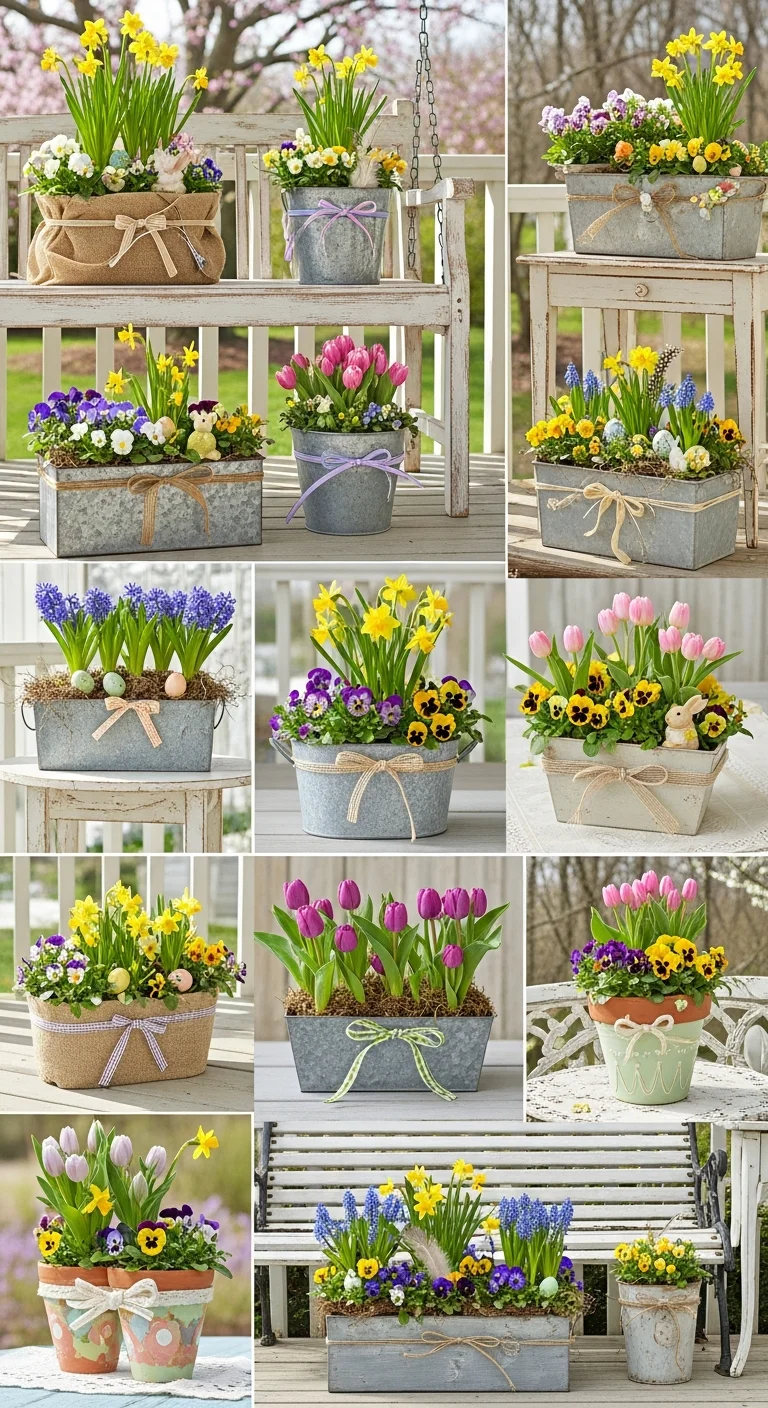
4. Optionally, hang 2-3 small dyed eggs from the branches using ribbon. If you are planning the rest of your outdoor ambiance, don’t miss these ideas for pastel garden crafts or incorporating charming DIY flower box designs.
5. Carrot Treat Cones

Ingredients:
* Orange cardstock or construction paper
* Green shredded paper or tissue paper
* Clear tape
* Small treats (chocolates, jelly beans)
Instructions:
1. Roll the orange paper into a cone shape, securing the edge with clear tape. Ensure the bottom point is tightly sealed.
2. Fill the cone halfway with small treats.
3. Fluff up the green shredded paper to look like carrot tops.
4. Gently tuck the green paper into the top of the cone, allowing it to spill out slightly. These make perfect party favors.
6. Watercolor Sticker Eggs

Ingredients:
* Hard-boiled or faux white eggs
* Small watercolor paint set and brush
* Sheet of small white circular stickers (hole reinforcements work well)
Instructions:
1. Place the small stickers randomly onto the eggs, pressing down firmly.
2. Using loose, watery watercolor paint, quickly brush streaks of color over the entire egg surface, covering the stickers.
3. Allow the paint to dry for 3-5 minutes (speed up with a hairdryer).
4. Carefully peel off the stickers to reveal crisp white dots against the watercolor background.
7. Quick Jute Wrapped Carrot Decor

Ingredients:
* Small styrofoam cone shapes (about 4 inches high)
* Orange paint (optional, if styrofoam is white)
* Jute twine
* Hot glue gun
* Green ribbon or twine
Instructions:
1. If necessary, quickly paint the cone orange and let dry (skip if using colored cones).
2. Start at the pointed tip. Place a dot of hot glue and begin wrapping the jute twine tightly around the cone, working your way up.
3. Once you reach the top edge, secure the end with glue.
4. Tie small pieces of green ribbon/twine into loops and glue them to the top center to resemble a carrot top.
8. Mini Bird Nest Favors

Ingredients:
* Small grapevine wreaths (2-3 inches wide)
* Shredded brown paper or straw
* Mini candy eggs (Robins Eggs preferred)
* Hot glue gun
Instructions:
1. Fluff up the shredded paper or straw to resemble nesting material.
2. Place a small dollop of hot glue inside the center of the grapevine wreath.
3. Press the nesting material onto the glue.
4. Arrange 3-4 mini candy eggs nestled into the center of the “nest.” Use these as quick party favors or table scattering.
9. Quick Ribbon Egg Tree Display

Ingredients:
* Small branch or decorative twigs (already in a vase)
* Scraps of pastel ribbon (5-6 inches long)
* Small plastic or wooden eggs with pre-drilled holes
Instructions:
1. Cut the ribbon into varying lengths.
2. Thread one end of a ribbon through the hole of an egg and tie it off with a tight knot.
3. Tie the other end of the ribbon loop around a branch on your display tree.
4. Repeat the process quickly with 5-10 eggs, focusing on varying heights for visual interest.
10. Sharpie Patterned Mugs/Plates

Ingredients:
* Plain white ceramic mugs or plates
* Black or pastel oil-based Sharpie markers
* Rubbing alcohol and cotton swabs (for errors)
Instructions:
1. Ensure the ceramic surface is clean and dry.
2. Use the Sharpie marker to draw quick, repetitive patterns like tiny bunny silhouettes, chevron stripes, or polka dots.
3. If you make a mistake, quickly wipe it off with rubbing alcohol.
4. *Note: For permanent, food-safe results, you need to bake the ceramic following marker instructions (this takes longer than 10 mins), but for a fast display-only piece, step 3 is sufficient.*
11. Ombre Paper Chain Backdrop

Ingredients:
* Cardstock or construction paper in three shades of one color (e.g., light pink, medium pink, dark pink)
* Stapler
* Scissors
Instructions:
1. Cut the paper into 1-inch thick strips (you’ll need about 50 strips total).
2. Loop the first strip and staple the ends together. Thread the second strip through the first loop and staple. Continue creating 5-6 short chains of alternating colors (ombre effect).
3. Hang the chains vertically from a doorway or mantel using tape for a fast, festive photo backdrop.
12. Quick Moss and Flower Basket

Ingredients:
* Small woven basket or bucket
* Sheet moss or dried green moss
* 2-3 small potted spring flowers (e.g., violas or hyacinths)
* Optional: Floral foam scraps
Instructions:
1. Line the inside of the basket with a layer of moss.
2. Place the potted flowers (still in their nursery containers) inside the basket, nestled closely together.
3. Tuck additional moss around the pot edges to hide the plastic containers and fill gaps.
4. This instant basket arrangement is perfect for a windowsill or entry table.
13. Bunny Ear Headbands (No Sew)

Ingredients:
* Pre-cut felt pieces (white and pink)
* Plain elastic headband or thin plastic headband
* Hot glue gun
* Scissors
Instructions:
1. Cut four identical outer ear shapes from white felt and two smaller inner ear shapes from pink felt.
2. Glue the pink inner ears onto two of the white outer ears.
3. Glue the front and back pieces of the ears together along the edges.
4. Pinch the bottom of each ear slightly to create a curve and hot glue the ears firmly onto the headband.
14. Peep Skewers & Bouquets

Ingredients:
* Wooden skewers
* Peeps marshmallow candies
* Small glass vase or jar
* Ribbon (optional)
Instructions:
1. Gently thread the Peeps onto the skewers (usually 3-4 per skewer, depending on skewer length).
2. Place the filled skewers into a decorative vase or jar, treating them like a sweet, edible bouquet.
3. Tie a simple ribbon around the vase neck for added flair. This adds festive height to your food display. For more holiday fun, review these genius backyard egg hunt hacks!
15. Fast Tissue Paper Flower Dots

Ingredients:
* Pastel tissue paper (pink, blue, yellow)
* Small decorative bowl or platter
* Hot glue gun
Instructions:
1. Tear the tissue paper into small, irregular squares (about 2×2 inches).
2. Crumple each square lightly into a fluffy dot shape.
3. Place a tiny dot of hot glue on the bottom of a crumpled piece and press it onto the bottom or edge of a platter/bowl.
4. Repeat rapidly, clustering the paper dots until the bottom surface is covered. This provides quick texture and color for serving Easter candies.